Self-Hosting Multiple Websites in IIS
Did you know that you could host a website on a computer with Windows installed? Did you know you can host 2 websites? Or even 3? Well, you absolutely could do this!
In this blog post, I want to document useful information about using the Microsoft IIS feature or Internet Information Services.
Table of Contents
What is IIS?
IIS is Microsoft’s web server product. It is a feature of Windows client operating systems and Windows Server.
Why should you care about IIS?
If you are ever curious about hosting a web server and are intimidated by Linux, I think that IIS is a good place to start. If you already have Windows 10 or 11 you can locally host some websites on your computer.
Also if you understand how to use IIS, it could be useful to know when you are building out a Windows domain. The next time you spin up a Windows domain controller, or other Windows virtual machines, consider adding a web server to your lab. It could be fun!
How do you install IIS on Windows 10 / 11?
Open up Control Panel and then open “Programs and Features.” Then select “Turn Windows features on or off.”

Find “Internet Information Services” and select the features that are checked off in the below screenshot. It is important to install the Application development features because this will allow you to load sites that have .aspx files.
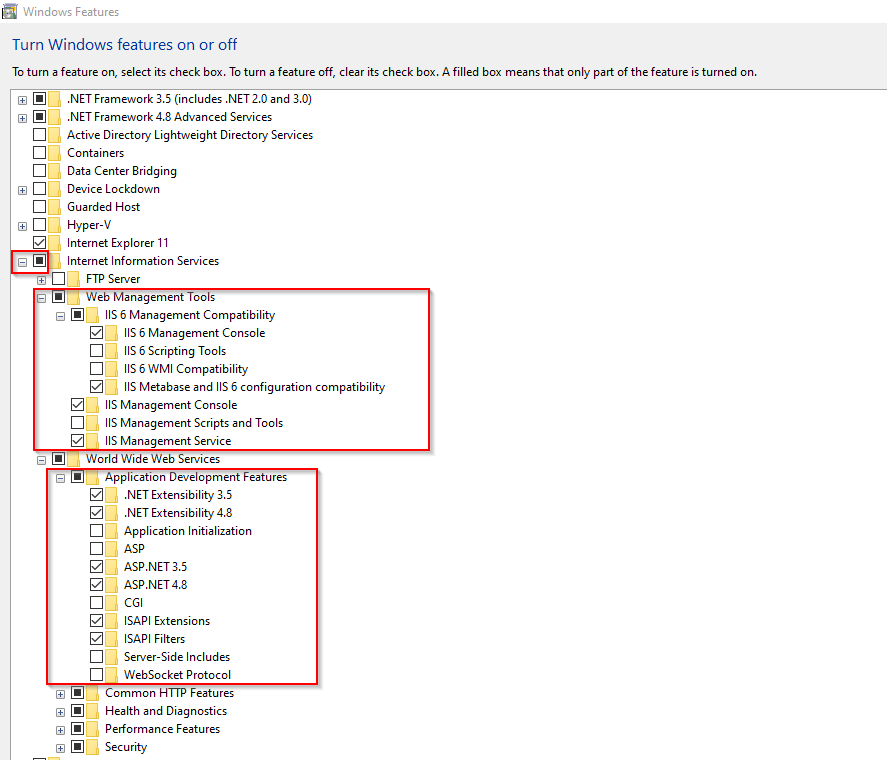
After you select ok, IIS should install and you should be able to search for it on your computer.
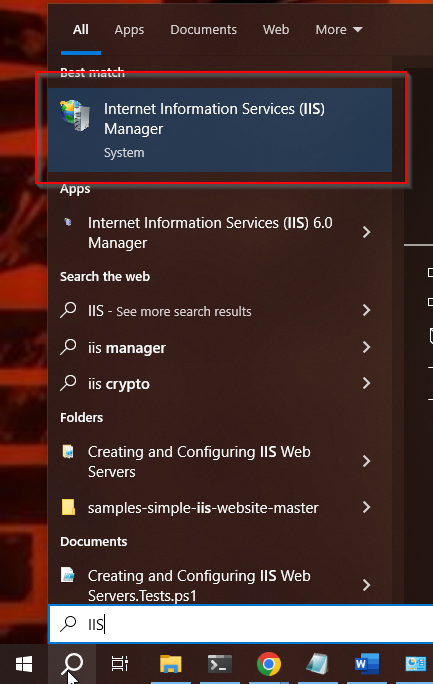
Creating your first website
And just like that, you have just set up a web server on your Windows computer! Upon opening IIS Manager for the first time you will notice there is a default website. You can load the website in a web browser just by typing “localhost” in the address bar:

I deleted this and created a new website. To create a new website, open IIS Manager, and click “Sites.” And then select “Add Website.”

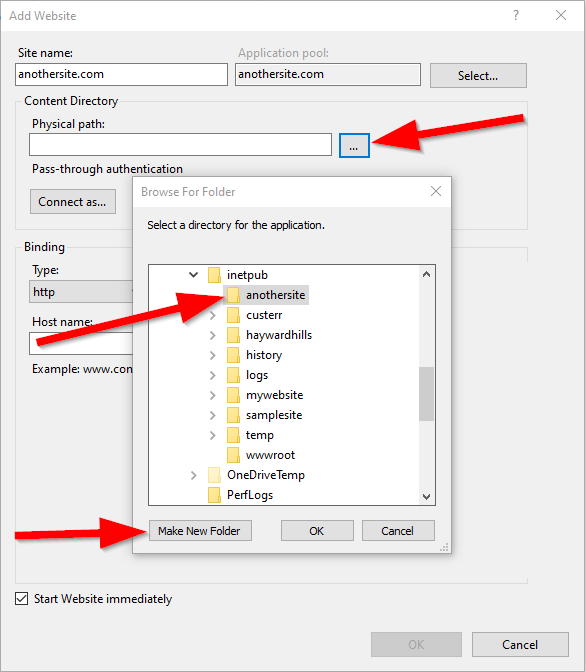
Give your website a name:

Next you must create a folder to put all the files for your new website. You can put the website files anywhere you want. I will be putting the files in this file path:
C:\inetpub\anothersite
Next, you need to specify the binding. What this does is bind a port number to the website. This becomes important if you are hosting multiple websites on the same server.

If there is a single IP address assigned to a web server and there are multiple websites hosted on that server, this can pose a problem. How will the server know which website to return to the client machine?
This is where bindings come in. A port number is bound to the website’s hostname. If there are multiple websites, each website should be bound to a different port number. Since this website will be hosted locally on my machine for testing purposes, I will set the value for the IP Address to “All Unassigned.”

Downloading Sample Websites
If you are reading this and you are a web developer or have some solid experience creating websites, by all means, upload your website’s files to the folder you created earlier. For this lab, I will be downloading a sample website that is freely available on free-css.com.
Configuring The Host File
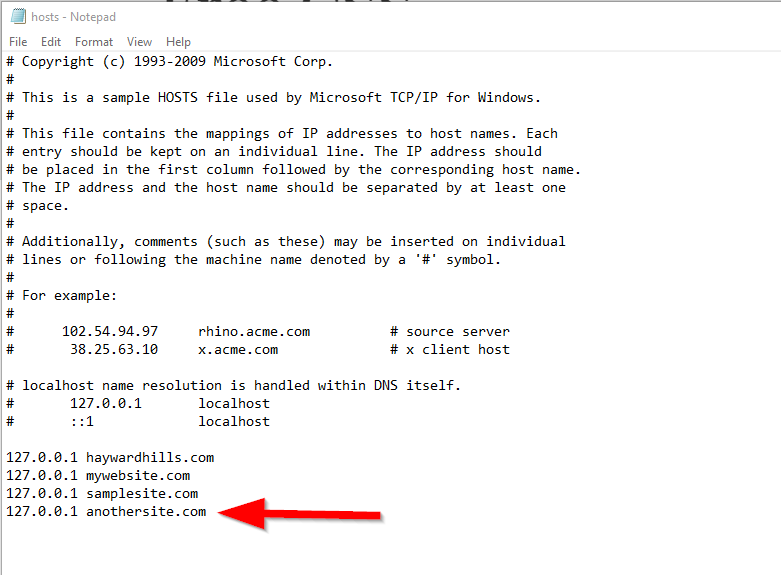
After uploading your website’s files to the correct folder on your computer, you need to configure the host file. Open up Notepad and run it as administrator. Next, navigate to C:\Windows\System32\drivers\etc and open the “hosts” file. At the bottom of the file add the loopback address of 127.0.0.1 followed by the hostname of your website.
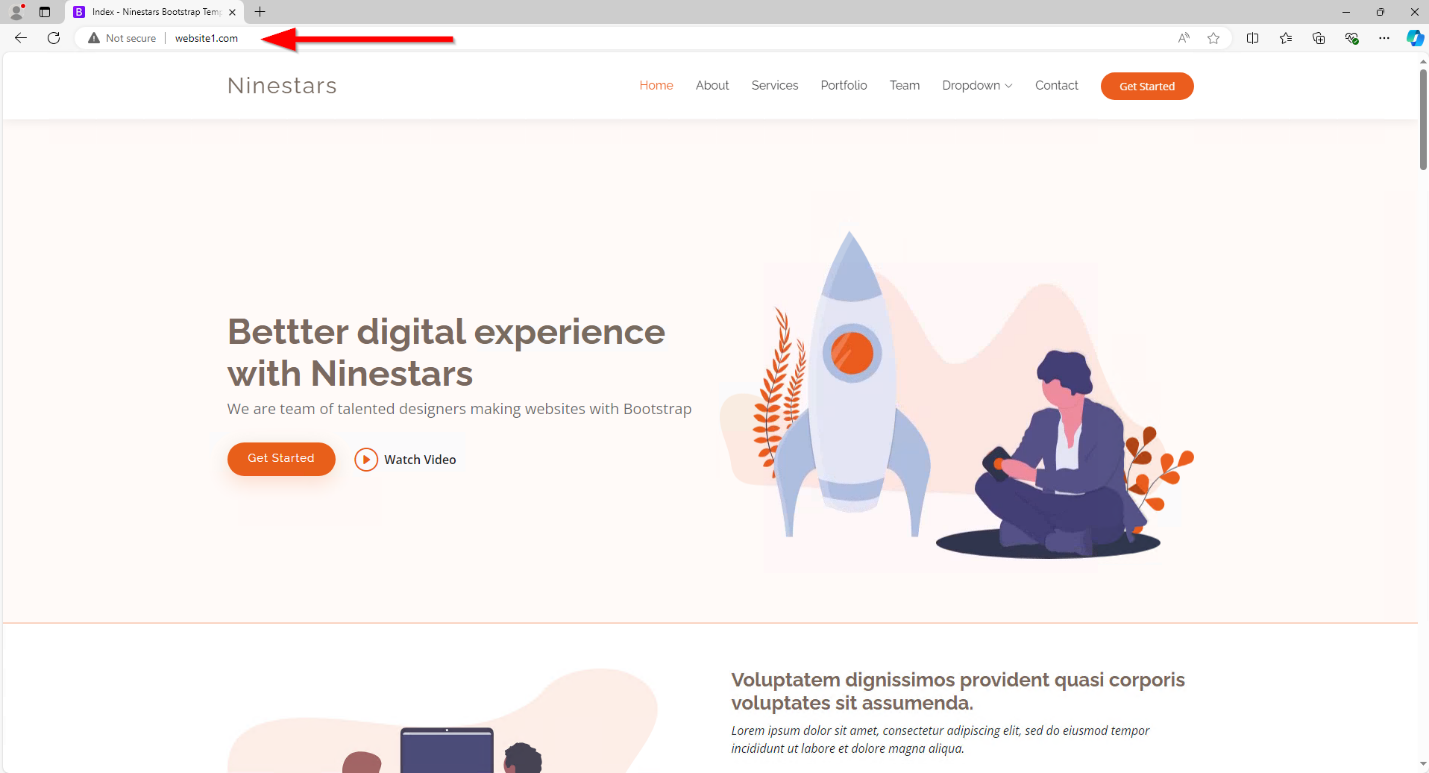
Check out your website!
Open a browser and type the hostname of your website into the address bar:

Installing IIS on Windows Server 2022
The following considerations are for installing and setting up IIS in a Windows domain using Windows Server 2022. I have created two Windows Server 2022 virtual machines in Azure in this lab environment. I have installed the AD DS role on one server and IIS on the other.
To install the IIS role on Windows Server 2022, open Server Manager and then select Manage>Add Roles & Features:

Select Next:

Select Next on this screen as well:

Select the server you would like to install IIS and select Next:

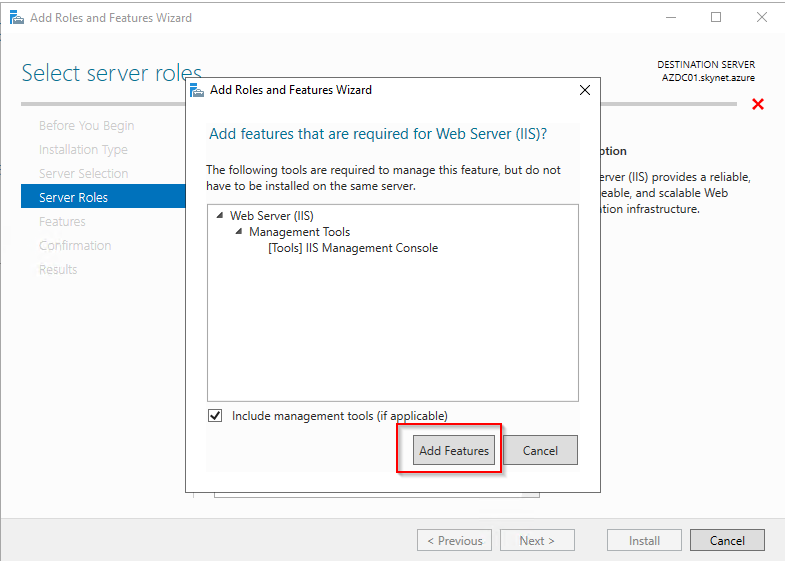
Select the checkbox next to the Web Server (IIS) role:

Select Add Features:
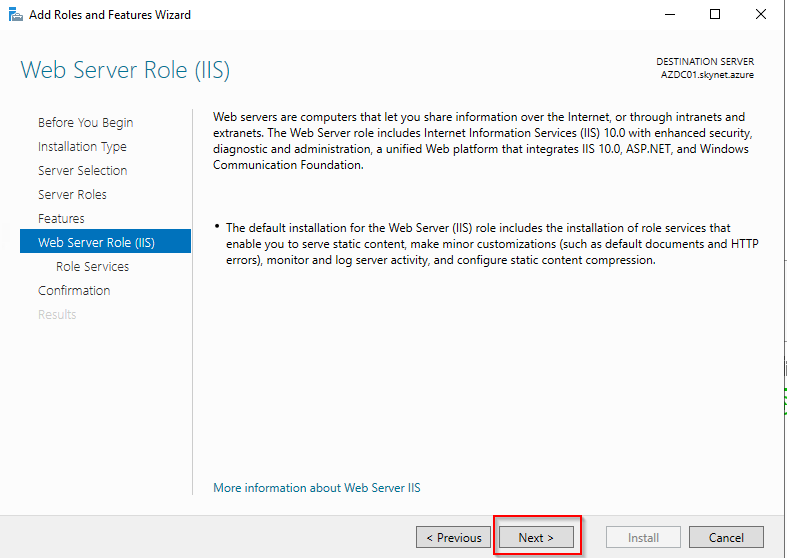
Select Next:

Select Next on the next two screens:
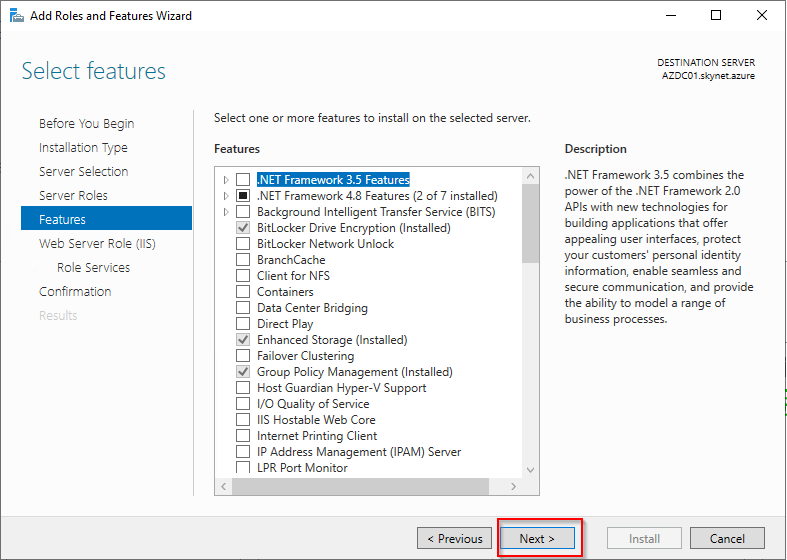
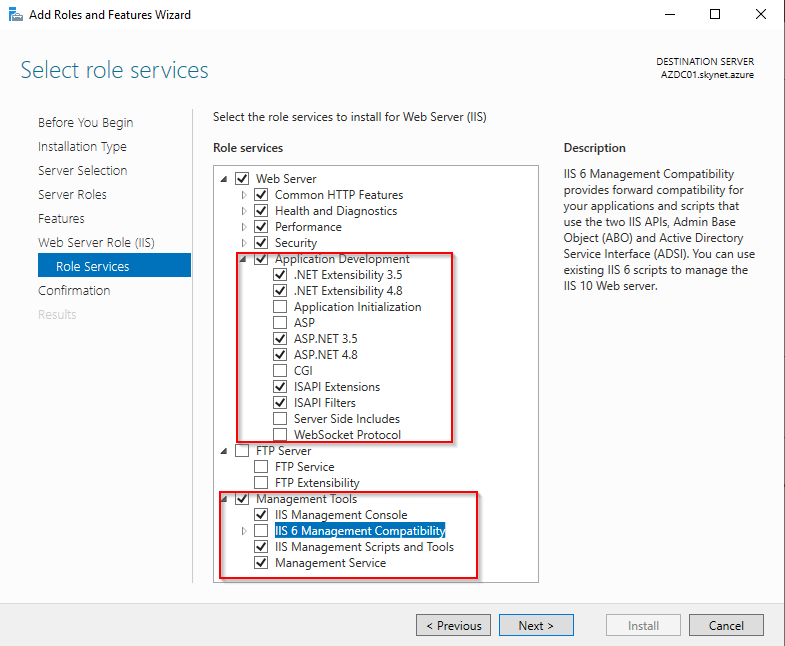
On the Role Services screen, make sure you select the features highlighted in the below screenshot. The defaults that are chosen are generally ok. Feel free to install any additional features you see fit. The reason why I selected these application development features is so I can use websites that have .aspx files.
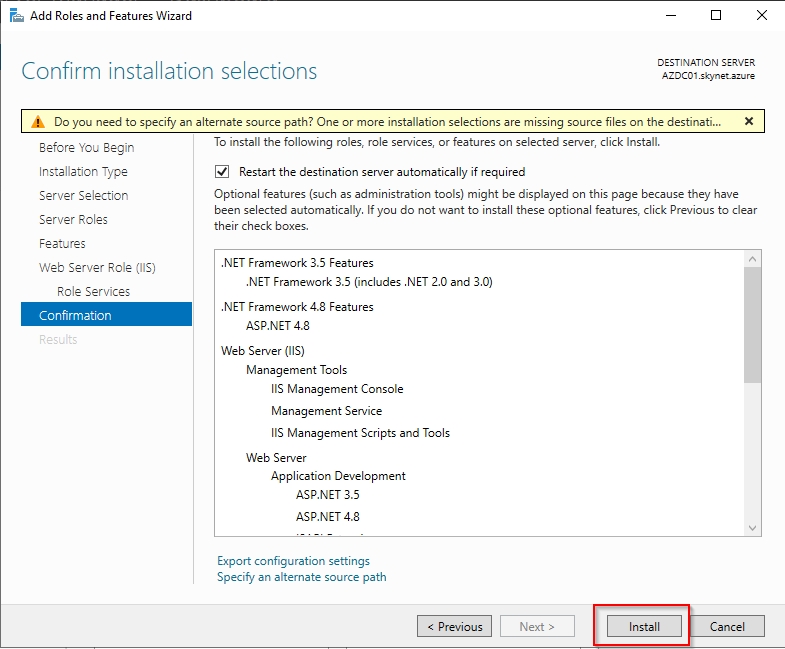
Select Install on this screen
Launch IIS from Server Manager!


Creating An A Record For Your Website
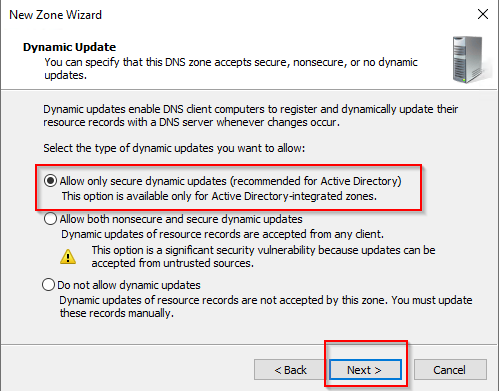
If you are just using a standalone Windows Server 2022 instance you can follow the steps mentioned earlier and edit the hosts file so that you can resolve multiple websites. If your IIS server is joined to a Windows domain, you need to create an A record on the DNS server so that you can resolve additional websites you might host.
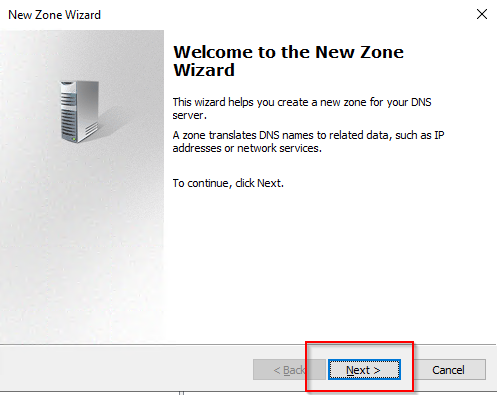
Open DNS Manager and create a new Forward Lookup Zone:

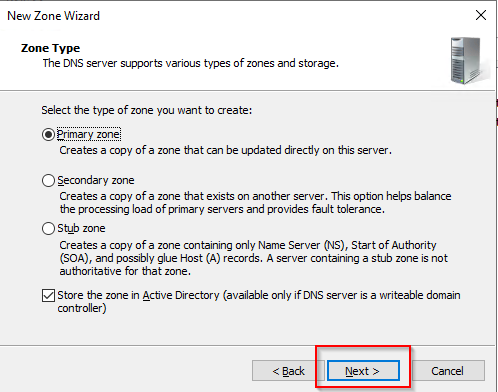
Select Next:
The defaults for the next three screens are usually fine unless you have specific needs for your DNS server.

Give the new Forward Lookup Zone a name. You want to give it the same name as the hostname of your website:

Select Finish:

Next you want to create a new A record in the forward lookup zone you just created. Make sure it is selected in the navigation pane on the left, right mouse click anywhere on the right and select New Host A:

You can leave the name blank here unless you want to give your website an additional name that can be used to resolve the website. For example you can give this record the name of “www” so that you can resolve your website by entering www.website1.com. Keep in mind you would need to change the hostname in IIS.
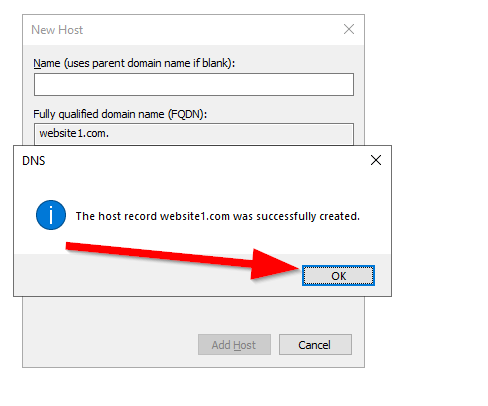
Enter the IP address of your Web Server. This IP address really should be a static IP address. Only select ‘Create Associated PTR record” if you have a reverse lookup zone configured for your subnet. In my case I do so I will select this and then click add host.

Select ok
Open a web browser and open your website!